

If your kitchen towel is always sliding off the oven handle or bunching up in a drawer, a crochet hanging disk towel holder basket solves that problem in the most charming way possible. This clever accessory combines a decorative crocheted disk, a button or toggle closure, and a small hanging loop that lets you thread a towel through the center so it stays put, looks tidy, and adds a handmade touch to any kitchen or bathroom.
In this guide, you’ll learn exactly what this pattern is, why it has become such a popular project among crocheters, how to make one from start to finish, and how to customize it for your own home or as a gift.
What Is a Crochet Hanging Disk Towel Holder Basket?

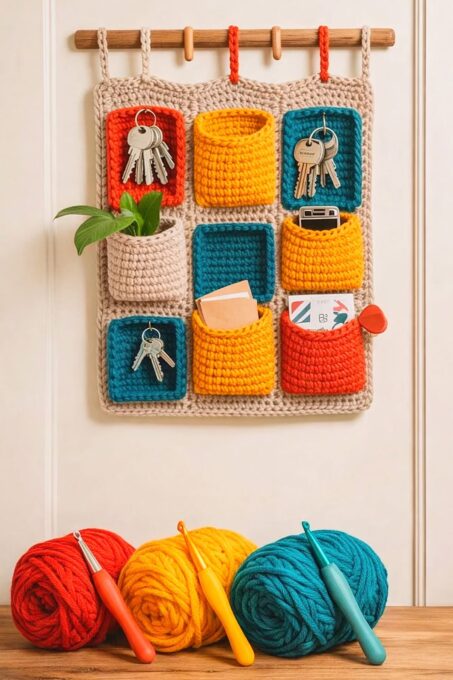
A hanging disk towel holder is essentially a round or oval crocheted medallion with a buttonhole slit cut (or worked) into the center, plus a hanging loop at the top. A dish towel is folded and pulled halfway through the slit, then secured with a button, so the towel hangs neatly on both sides of the disk. The whole piece is then hung from a cabinet knob, oven door, or hook.
Unlike a simple towel loop, this design has real substance. Many versions are worked with a decorative flower, mandala, or basket-weave texture on the front, turning a purely functional item into a small piece of textile art. That’s why the pattern is often searched alongside terms like “crochet towel topper,” “hanging towel holder,” and “kitchen towel disk.”
Why This Pattern Is So Popular
There are a few reasons this project keeps showing up in crochet circles:
- It’s fast. Most disks are worked in under an hour, making it an ideal project for using up scrap yarn.
- It’s practical. Kitchen towels genuinely stay in place instead of falling on the floor.
- It’s a great gift item. Paired with a coordinating towel, it makes a lovely housewarming or holiday present.
- It’s beginner-friendly. The core technique is just a basic crochet circle with a slit, which makes it approachable even for newer crocheters.
Materials You’ll Need
Before starting, gather your supplies. Here’s a simple breakdown of what most patterns call for:
| Item | Purpose | Notes |
|---|---|---|
| Worsted weight cotton yarn | Main body of the disk | Cotton is preferred for durability and washability |
| Crochet hook (size 4.0–5.0 mm) | Working the stitches | Match hook size to yarn weight for a firm fabric |
| Button (1.5–2 inches) | Closure | Wooden or coconut buttons give a rustic look |
| Yarn needle | Weaving in ends | Also used to attach the button |
| Scissors | Cutting yarn | — |
| Stitch marker | Tracking rounds | Optional but helpful for beginners |
Cotton yarn is strongly recommended over acrylic for this particular project since towel holders are handled often and occasionally get damp near the sink or stove.
How to Crochet a Hanging Disk Towel Holder Basket
While exact stitch counts vary between designers, the underlying structure of this pattern is consistent. Here’s the general process broken into stages.
Step 1: Crochet the Base Circle
Start with a magic ring or a chain-and-slip-stitch ring, then work single crochet or double crochet stitches in rounds, increasing evenly so the disk lays flat rather than cupping or ruffling. Most patterns build the disk to a finished diameter of around 5 to 7 inches, which is large enough to hold a folded towel securely without being bulky.
Step 2: Add the Buttonhole Slit
Once the disk reaches the desired size, the pattern typically instructs you to work a row or round with a gap in the center, or to crochet two half-sections that meet with a small opening between them. This slit is what allows the towel fabric to be pulled through.
Step 3: Create the Hanging Loop
At the top of the disk, a short chain (often 8–12 stitches) is worked and joined to form a loop. This loop is what goes over a hook, knob, or oven handle. Reinforcing this loop with a second pass of single crochet adds strength, since it bears the weight of the towel over time.
Step 4: Attach the Button
The button is sewn onto the front of the disk, positioned so it lines up with the slit. When the towel is threaded through, the button (or sometimes a simple loop closure) keeps everything secure and adds a decorative focal point.
Step 5: Weave in Ends and Block
Finally, weave in all loose ends and block the disk gently if it looks uneven. Blocking is especially useful if you added a textured stitch pattern, like popcorn stitches or a flower motif, since it helps the design lay flat and look polished.
Choosing a Design Style
Because this project is really just a decorated circle, there’s enormous room for creativity. A few popular styles include:
- Mandala-style disks with contrasting color rounds radiating from the center.
- Basket-weave texture for a woven, rustic appearance.
- Granny square adaptations turned into a circle or rounded square shape.
- Appliqué flowers stitched onto a solid-color base disk.
If you enjoy working with small decorative crochet pieces like this one, you may also like exploring other functional basket-style patterns, such as this crochet lighter and match holder basket pattern, which uses similar circular construction techniques on a smaller scale.
Tips for a Professional-Looking Result
- Use a firm gauge (slightly tighter than usual) so the disk holds its shape and doesn’t stretch under the towel’s weight.
- Choose a button that contrasts with the yarn color so it stands out as a design feature.
- If the disk curls at the edges, add one round of single crochet worked in the back loops only to flatten it out.
- Test the finished piece with an actual folded towel before gifting it, to make sure the slit and button placement work smoothly.
Practical Uses Beyond the Kitchen
While kitchen towels are the most common use, this pattern adapts well to other spaces too:
- Bathroom hand towels near a sink
- Guest towels in a powder room
- Nursery burp cloths, hung within easy reach
- RV or camper kitchens, where towels tend to slide off small handles
Because the project is quick to work up, it’s easy to make several in coordinating colors for different rooms or as a themed set.
Caring for Your Crochet Towel Holder
Since these are used in kitchens and bathrooms, occasional washing is inevitable. Hand washing in cool water and laying the disk flat to dry will help it keep its shape far longer than machine washing. If you used a wooden button, avoid soaking it directly, as prolonged moisture can warp certain wood types.
Related Project Idea
If you enjoy small, functional crochet home accessories like this towel holder, you might also like organizing other everyday items with crochet. For example, this related project on organizing small kitchen or craft items in a crocheted container follows a similar philosophy of turning a practical household need into a decorative handmade piece.
Frequently Asked Questions
Is this pattern suitable for beginners? Yes. The core skills involved—working in rounds, increasing stitches evenly, and sewing on a button—are all beginner-level techniques, making this an excellent first “wearable” home accessory project.
What size should the disk be? Most versions range from 5 to 7 inches in diameter. Smaller disks work well for hand towels, while larger ones suit thicker kitchen towels.
Can I use acrylic yarn instead of cotton? You can, but cotton is generally preferred for kitchen and bathroom items because it’s more absorbent, more heat-resistant near stoves, and easier to wash repeatedly without pilling.
How do I keep the disk from curling? Curling usually happens when increases are too frequent or too infrequent. Following the increase pattern precisely, and blocking the finished piece, usually resolves this.
Can this pattern be adapted into other shapes, like a square or heart? Absolutely. Once you understand the buttonhole-and-loop structure, you can apply it to almost any flat crocheted shape.
What’s the best way to attach the hanging loop securely? Reinforce the loop with an extra round of single crochet, and anchor the yarn ends deep into the stitches on both sides of the loop rather than just at the top, since this is the point that experiences the most stress.