

The first time I opened an amigurumi pattern, it looked like a foreign language. “Sc6 in magic ring, inc x6, sc x6, dec x3…” made no sense, and I nearly gave up before making a single stitch. Once I understood the logic behind how to read amigurumi patterns, everything clicked. Patterns are not random strings of letters — they follow a consistent structure once you know what to look for.
This guide breaks down exactly how to read an amigurumi pattern with confidence, so you can go from confusing abbreviations to a finished piece without second-guessing every line.
Why Amigurumi Patterns Look Intimidating at First

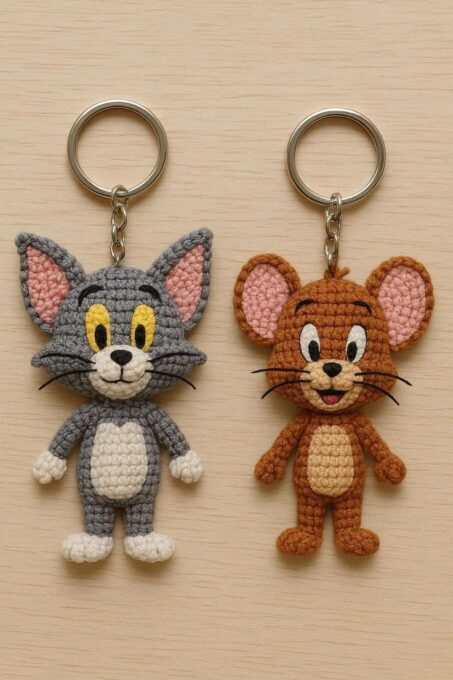
Amigurumi patterns are written in a shorthand designed to save space, not to confuse you on purpose. Every abbreviation represents a specific stitch or action, and once memorized, reading a pattern becomes closer to reading sheet music than reading a paragraph. The challenge is that most patterns assume you already know this shorthand, so beginners are left decoding it on their own.
Understanding Common Amigurumi Abbreviations
Almost every amigurumi pattern uses a small, repeated set of abbreviations. Learning these first makes everything else fall into place.
| Abbreviation | Meaning |
|---|---|
| MR | Magic ring (adjustable starting loop) |
| sc | Single crochet |
| inc | Increase (two stitches in one) |
| dec | Decrease (two stitches combined into one) |
| st(s) | Stitch(es) |
| rnd | Round |
| sl st | Slip stitch |
| ch | Chain |
| BLO / FLO | Back loop only / front loop only |
Once these are familiar, a line like “Rnd 3: (sc, inc) x6 (18 sts)” simply means: repeat “one single crochet, then one increase” six times, ending the round with 18 total stitches.
How Pattern Instructions Are Structured
Amigurumi patterns are almost always written round by round, with the stitch count listed at the end of each round in parentheses. This stitch count is one of the most useful tools in the entire pattern, because it lets you check your own work as you go, rather than discovering an error rounds later.
A typical pattern section looks like this:
- Rnd 1: 6 sc in MR (6)
- Rnd 2: inc x6 (12)
- Rnd 3: (sc, inc) x6 (18)
- Rnd 4–6: sc around (18)
- Rnd 7: (sc4, dec) x3 (15)
Reading this in order tells you exactly how the shape grows and shrinks: starting small, expanding through increases, working even rounds to build height, then shrinking again through decreases to close the shape.
Decoding Repeats and Parentheses
Repeats are one of the more confusing parts for beginners, but the logic is simple. Anything inside parentheses followed by “x” and a number means repeat that sequence that many times. For example, “(sc2, dec) x4” means you work two single crochets, then one decrease, and repeat that whole sequence four times before moving to the next instruction.
Understanding Multi-Piece Patterns
Most amigurumi are made of several pieces — body, head, arms, ears — each written as its own separate section. Patterns typically list how many of each piece to make (for example, “make 2” next to the arm instructions) and specify the assembly order near the end. Reading through the entire pattern once before starting, rather than working strictly line by line the first time, helps you understand how the pieces relate to each other before you begin.
Common Mistakes When Reading Patterns
- Skipping the stitch counts. These numbers are your built-in error check — ignoring them means mistakes go unnoticed for several rounds.
- Confusing increase and decrease abbreviations. “Inc” and “dec” look similar but produce opposite results in your stitch count.
- Not reading the full pattern first. Jumping straight into stitching without understanding the structure often leads to confusion mid-project.
Tips for Reading Patterns More Confidently
- Keep an abbreviation cheat sheet nearby until the shorthand becomes second nature.
- Use a stitch marker to track rounds, especially in longer patterns where losing your place is easy.
- Count after every round, not just at the end of a section, so mistakes are caught early.
- Highlight or mark repeats on a printed pattern to make them easier to follow visually.
Reading a pattern accurately matters just as much once you get to the finishing stage — proper essential amigurumi tools like stitch markers and a row counter, covered in <a href=”/essential-amigurumi-tools” style=”color:red;”>this guide</a>, make it far easier to follow along without losing your place. And if you’re choosing your first pattern to practice on, something from our list of <a href=”/simple-one-color-amigurumi-projects-for-beginners” style=”color:red;”>simple one-color amigurumi projects for beginners</a> is a forgiving place to start, since fewer color changes mean fewer instructions to track at once.
For a full glossary of stitch abbreviations used across most published patterns, the <a href=”https://www.craftyarncouncil.com/standards/crochet-stitch-guide” target=”_blank” rel=”noopener” style=”color:red;”>Craft Yarn Council’s crochet stitch guide</a> is one I still reference from time to time, even with years of experience.
Frequently Asked Questions
What does “MR” mean in an amigurumi pattern? MR stands for magic ring, an adjustable loop used to start most amigurumi pieces, since it allows the center hole to be pulled fully closed.
What is the difference between “inc” and “dec”? “Inc” (increase) adds a stitch by working two stitches into one, while “dec” (decrease) removes a stitch by combining two stitches into one.
Why do patterns list a stitch count after each round? The stitch count acts as a built-in checkpoint, letting you confirm your work matches the pattern before moving to the next round.
Do all amigurumi patterns use the same abbreviations? Most designers use a fairly standard set of abbreviations, though some patterns include a small glossary at the beginning to clarify any less common terms.
Should I read the whole pattern before starting to crochet? Yes. Reading through once first helps you understand how many pieces you need, how they are assembled, and what materials to have ready before you begin.
Final Thoughts
Once you understand the logic behind how to read amigurumi patterns, what once looked like a confusing string of letters becomes a clear, predictable roadmap. Learn the core abbreviations, pay attention to stitch counts, and read through the full pattern before diving in, and you will move through future projects with far more confidence and far fewer surprises.