

Starting your first amigurumi project should feel exciting, but for many beginners it becomes surprisingly stressful. The yarn tangles, the stitches seem uneven, the shape looks wrong, and pattern abbreviations suddenly feel like a different language. Many people assume they are “bad at crochet,” when in reality they simply started with a project that was not designed for beginners.

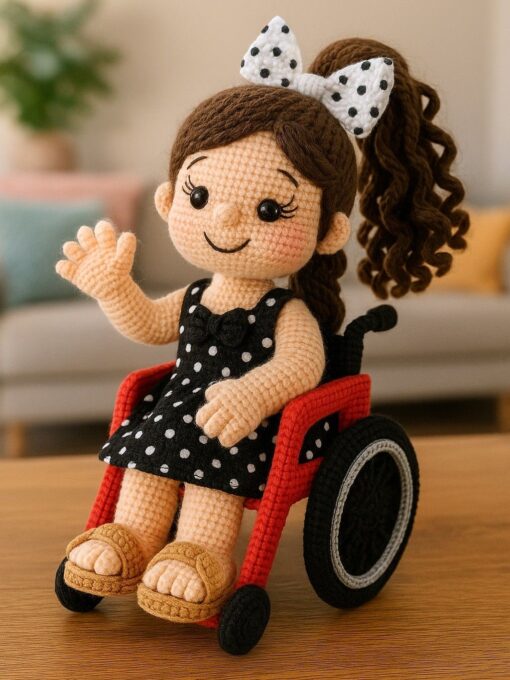
Learning how to make your first amigurumi without frustration is less about natural talent and more about making a series of smart decisions before you even crochet the first stitch. Choosing the right yarn, understanding a few essential techniques, and starting with a simple shape can completely change the experience.
The goal of this guide is not to help you make a perfect amigurumi. It is to help you finish your first one with confidence, understand what you are doing, and build skills that will make every future project easier.
Why the first amigurumi often feels harder than expected
One of the biggest misconceptions is that small projects are automatically easy. A tiny stuffed animal may use less yarn than a blanket, but it often requires working in tight stitches, counting every round, and shaping a three-dimensional object.
Beginners usually struggle because they encounter several challenges at the same time:
- learning crochet stitches;
- reading a pattern;
- working in continuous rounds;
- controlling tension;
- stuffing evenly;
- sewing pieces together.
Trying to learn all of these skills simultaneously can feel overwhelming.
Start with a pattern that has one main shape
For your first project, avoid anything with multiple limbs, clothing, accessories, or complicated color changes.
The easiest beginner-friendly shapes are:
- a small whale;
- a mushroom;
- a heart;
- a bee;
- a simple round animal.
These projects allow you to focus on the fundamentals without becoming overwhelmed by assembly.
If you are looking for a collection of projects designed specifically for beginners, these easy amigurumi patterns for absolute beginners are a useful example of patterns that keep shaping and construction intentionally simple: https://decoratindreams.com/easy-amigurumi-patterns-for-absolute-beginners/
Starting with a manageable project is often the difference between finishing your first amigurumi and abandoning it halfway through.
The best materials for a frustration-free first project
Choose smooth yarn
Light-colored cotton or cotton-blend yarn is usually the easiest option.
Dark yarn hides stitches.
Fuzzy yarn makes it difficult to see where the hook should go.
A smooth yarn allows you to identify each stitch clearly, which makes counting much easier.
Use a slightly smaller hook
Amigurumi is usually crocheted with a hook that is smaller than the yarn label suggests.
For worsted-weight yarn, a 3.5–4.0 mm hook is a comfortable starting point for many beginners.
Smaller hooks create tighter stitches that prevent stuffing from showing through.
Do not skip the stitch marker
A stitch marker may seem optional, but it prevents one of the most common beginner mistakes: losing track of the beginning of the round.
Place the marker in the first stitch of every round.
Move it as you continue crocheting.
This simple habit can save hours of frustration.
Learn only four techniques first
Many beginners watch dozens of tutorials before starting.
Instead, focus on only four techniques:
Magic ring
Creates a tightly closed center.
Single crochet
The foundation of almost every amigurumi project.
Increase
Two single crochet stitches in one stitch.
Invisible decrease
A smoother way to reduce stitches without creating noticeable gaps.
These four techniques are enough to complete many beginner amigurumi patterns.
Read the entire pattern before you begin
One of the easiest ways to reduce frustration is to understand the project before touching the yarn.
Check:
- the number of rounds;
- the final size;
- where stuffing is added;
- whether pieces are sewn separately;
- the required materials.
Knowing the overall structure makes the pattern much less intimidating.
Count every stitch
Experienced crocheters sometimes rely on instinct.
Beginners should rely on counting.
For example:
| Round | Stitch Count |
|---|---|
| 1 | 6 |
| 2 | 12 |
| 3 | 18 |
| 4 | 24 |
After every round, count your stitches.
If the pattern says 18 stitches and you have 19, fix it immediately.
Small counting errors become much larger shape problems later.
The tension mistake that creates most frustration
Beginners often crochet too loosely.
Loose stitches create visible holes and uneven shaping.
A good amigurumi fabric should feel:
- firm;
- even;
- flexible;
- dense enough that stuffing is not visible.
If large gaps appear between stitches, use a smaller hook or tighten your tension slightly.
Stuff gradually instead of waiting until the end
This is one of the most helpful practical tips I can give.
Many beginners wait until the opening becomes very small and then try to push in a large amount of stuffing.
The result is usually:
- uneven lumps;
- stretched stitches;
- a distorted shape.
Instead:
- add a small amount of stuffing;
- shape it with your fingers;
- crochet a few more rounds;
- add more stuffing gradually.
This creates a much smoother and rounder finished piece.
Why your project may look wrong halfway through
Amigurumi often looks strange during construction.
A whale may resemble a potato.
A mushroom may look like a small bowl.
A bee may appear oddly elongated.
This is completely normal.
Many amigurumi projects only become recognizable after:
- stuffing;
- closing the opening;
- adding facial features.
Avoid judging the project too early.
The easiest way to attach pieces evenly
If your project has ears, wings, or other small pieces, do not sew them immediately.
First:
- pin them in place;
- look at the project from the front;
- check both sides;
- adjust symmetry.
Only then should you sew them permanently.
This simple step dramatically improves the final appearance.
Embroidered eyes are often easier than safety eyes
Safety eyes are popular, but they can create unnecessary pressure for a first project.
Embroidered eyes are:
- easier to position;
- easy to remove if they look uneven;
- suitable for toys intended for young children;
- surprisingly expressive.
Even a few simple black stitches can give an amigurumi a charming personality.
A realistic first-project timeline
Many beginners underestimate how long the first project takes.
A simple amigurumi usually requires 2–6 hours, depending on your experience and the complexity of the pattern.
A useful learning sequence is:
Day 1
Practice the magic ring and single crochet.
Day 2
Crochet the first few rounds while counting carefully.
Day 3
Complete the shaping and add stuffing.
Day 4
Finish the closing, embroidery, and assembly.
Breaking the project into smaller sessions keeps frustration low.
The emotional side of learning amigurumi
One reason beginners become discouraged is comparison.
Online photos usually show perfectly shaped toys with flawless stitching.
What they do not show are:
- restarted rounds;
- crooked eyes;
- uneven stuffing;
- early practice pieces.
Every experienced crocheter has made imperfect amigurumi.
My own early projects often leaned slightly to one side because I consistently added an extra stitch during increases.
That mistake taught me more than any tutorial.
Progress comes from finishing projects, not from making perfect ones.
Focus on completion, not perfection
Your first amigurumi is a practice project.
Its purpose is to teach:
- stitch consistency;
- counting;
- shaping;
- stuffing;
- finishing techniques.
These skills transfer directly to every future amigurumi pattern.
A finished imperfect whale teaches more than an unfinished perfect elephant.
Understanding crochet terminology
When reading patterns from different designers, you may notice small variations in terminology and abbreviations.
The Craft Yarn Council provides standardized crochet abbreviations and beginner references that can help when learning how patterns are written and how stitch counts are structured: https://www.craftyarncouncil.com/
Understanding these standard terms makes it easier to follow patterns from a wide range of designers.
Final thoughts
If you want to know how to make your first amigurumi without frustration, start with a small project, use smooth yarn, count every stitch, and allow yourself to learn gradually.
Do not measure success by perfection.
Measure success by finishing.
Every completed mushroom, whale, bee, or heart builds the skills that make future projects easier and more enjoyable.
The first amigurumi is rarely the cutest one you will ever make, but it is almost always the one that teaches the most.
Frequently Asked Questions
What is the easiest first amigurumi to make?
A small ball, mushroom, or whale is usually the easiest because it has a simple shape and minimal sewing.
Why does my amigurumi have holes?
Loose tension, a hook that is too large, or overstuffing are the most common causes.
How long should a beginner spend on the first project?
Expect 2–6 hours for a simple beginner amigurumi.
Do I need safety eyes?
No. Embroidered eyes are often easier for beginners and are safer for toys intended for small children.
Is cotton or acrylic better for beginners?
Smooth cotton or cotton-blend yarn is generally easier because the stitches are more visible.